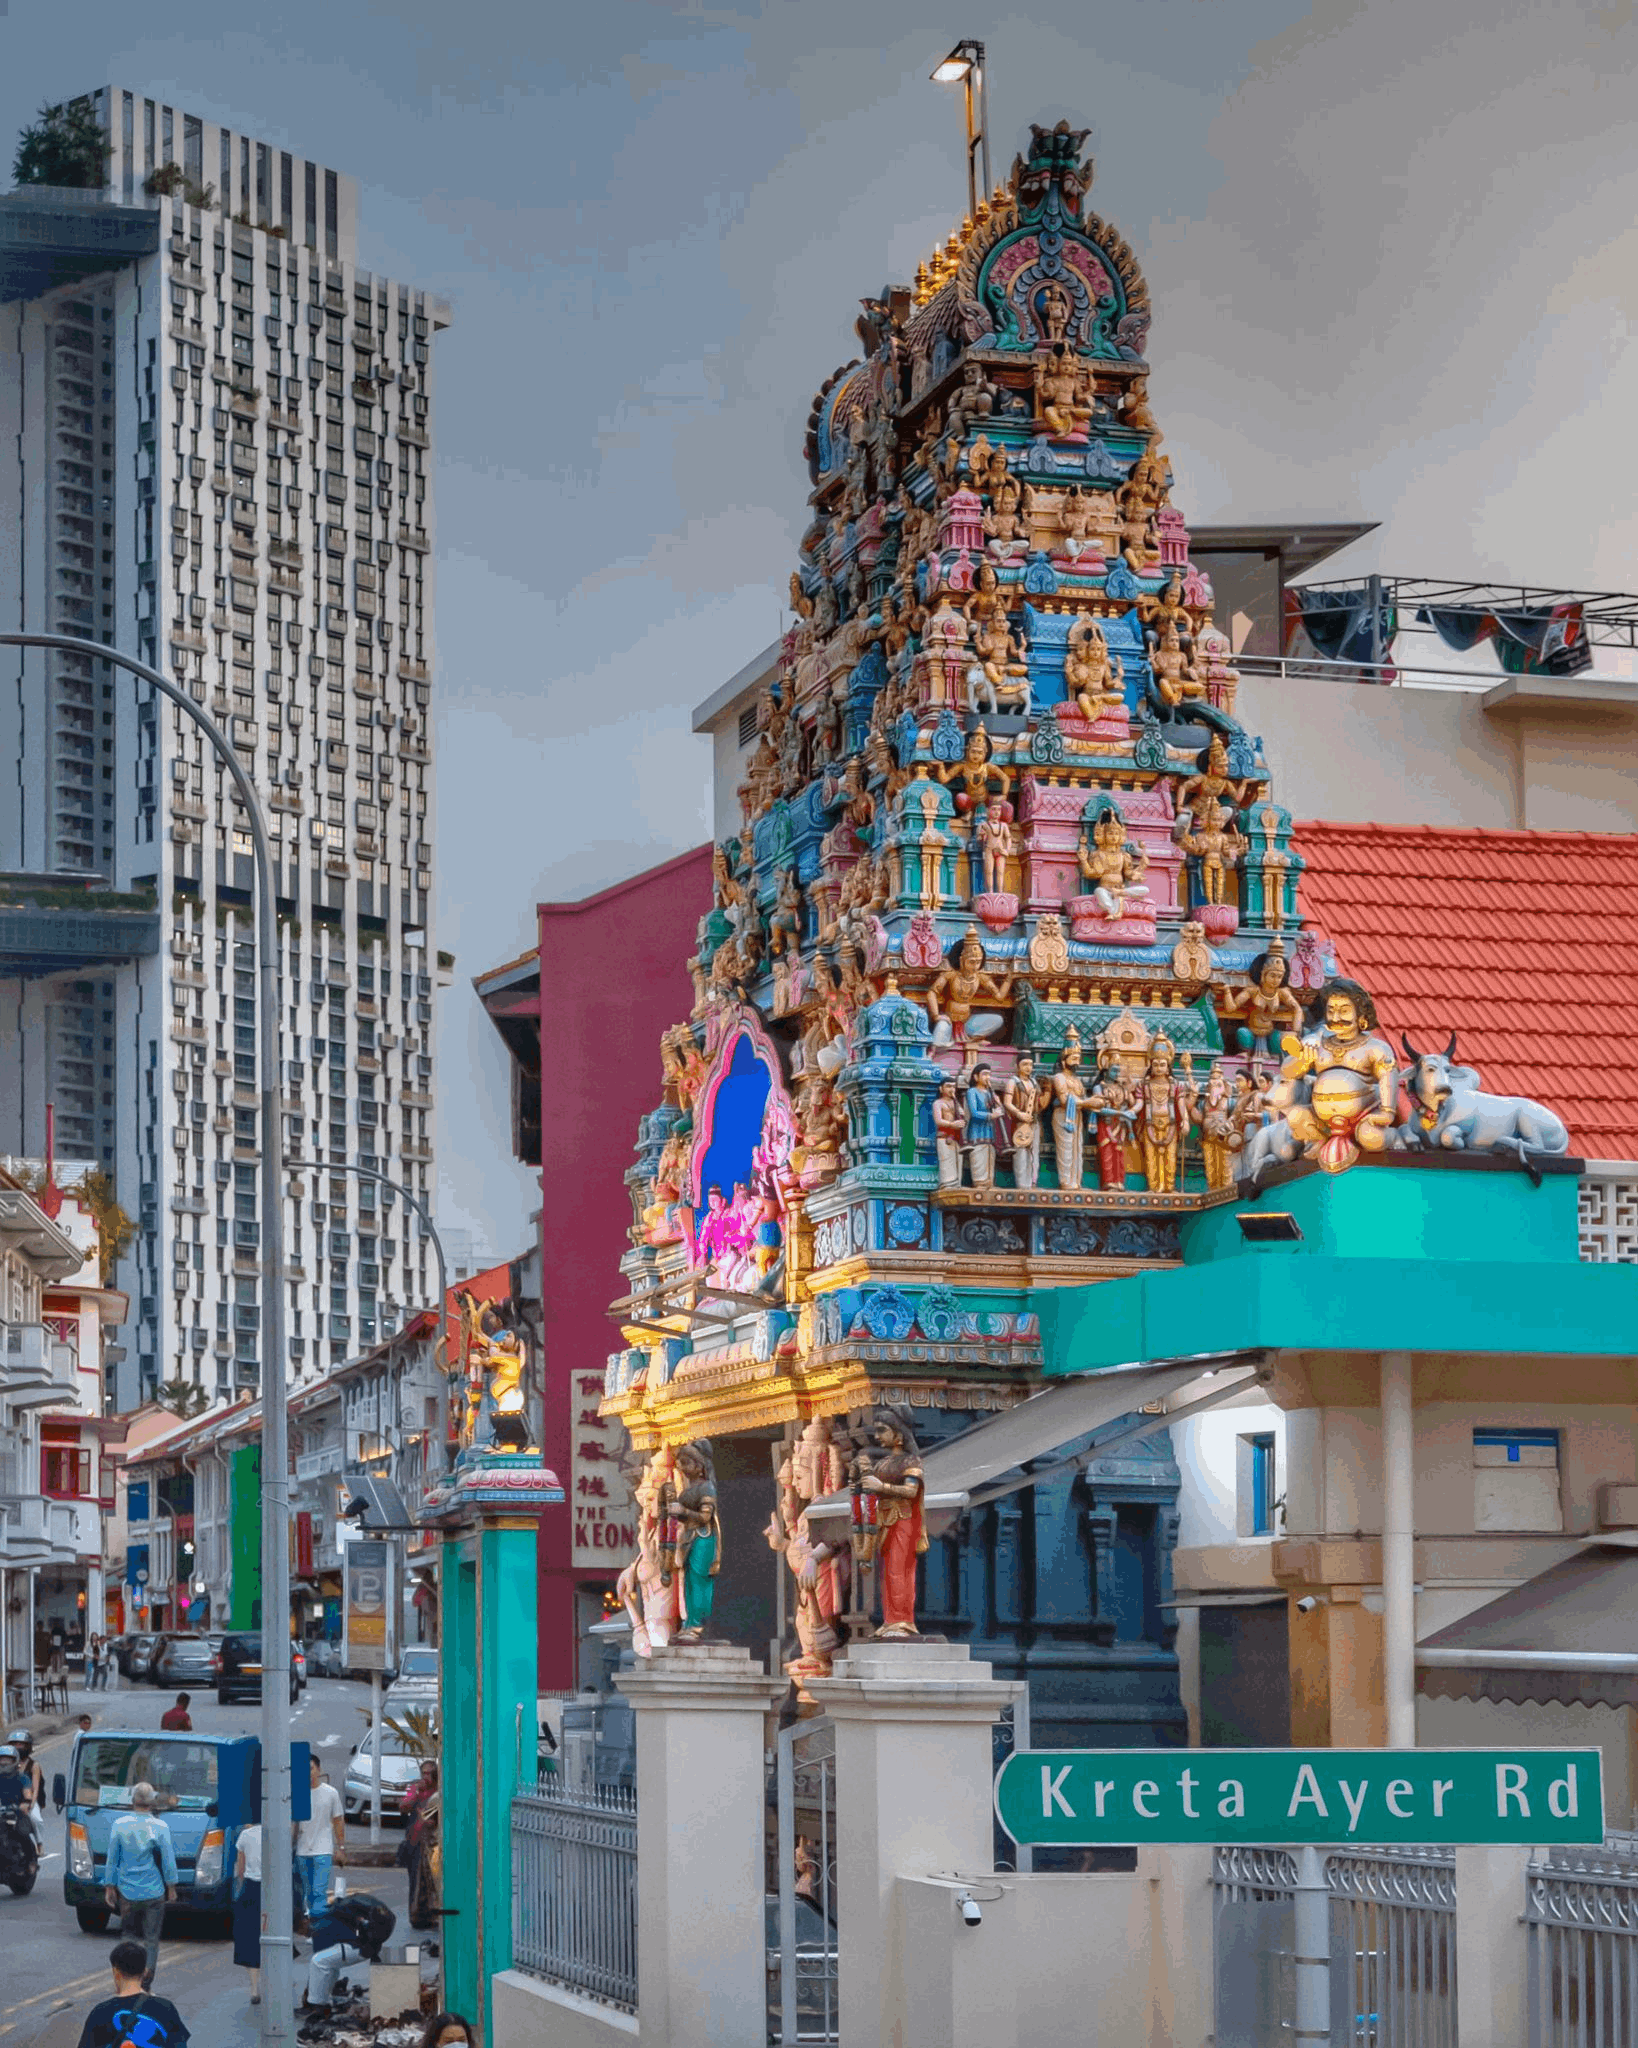
Tourists on the upper deck of the FunVee Open-Top Bus photographing a Hindu temple in Chinatown.
Singapore 3 min read

Singapore Night Photography Cheat Sheet for Smartphone Users

Author

Angela

Published

August 14, 2026

When late August and September roll into Singapore, the city transforms into an after-dark wonderland. Between the electric atmosphere of the Singapore Night Festival and the glowing, multi-million dollar skyline along Marina Bay , there is no better time to shoot aesthetic photos and videos for your feed.

However, if you’ve ever tried taking night photos or videos from a moving vehicle or a crowded street, you know the frustration: blurry buildings, blown-out neon signs that look like giant white blobs, and grainy black skies.

Whether you’re visiting Singapore for the first time or snapping content for your socials , here is your ultimate smartphone camera cheat sheet—plus the secret moving studio where you can test it out!
Part 1: Three Smartphone Settings to Adjust Before Shooting at Night

Smartphones often brighten low-light scenes automatically. While this can help when you are standing still, it may overexpose illuminated landmarks or create blur when you are shooting from a moving bus or boat.

Before heading out, adjust these three settings to improve your night photos and videos. 

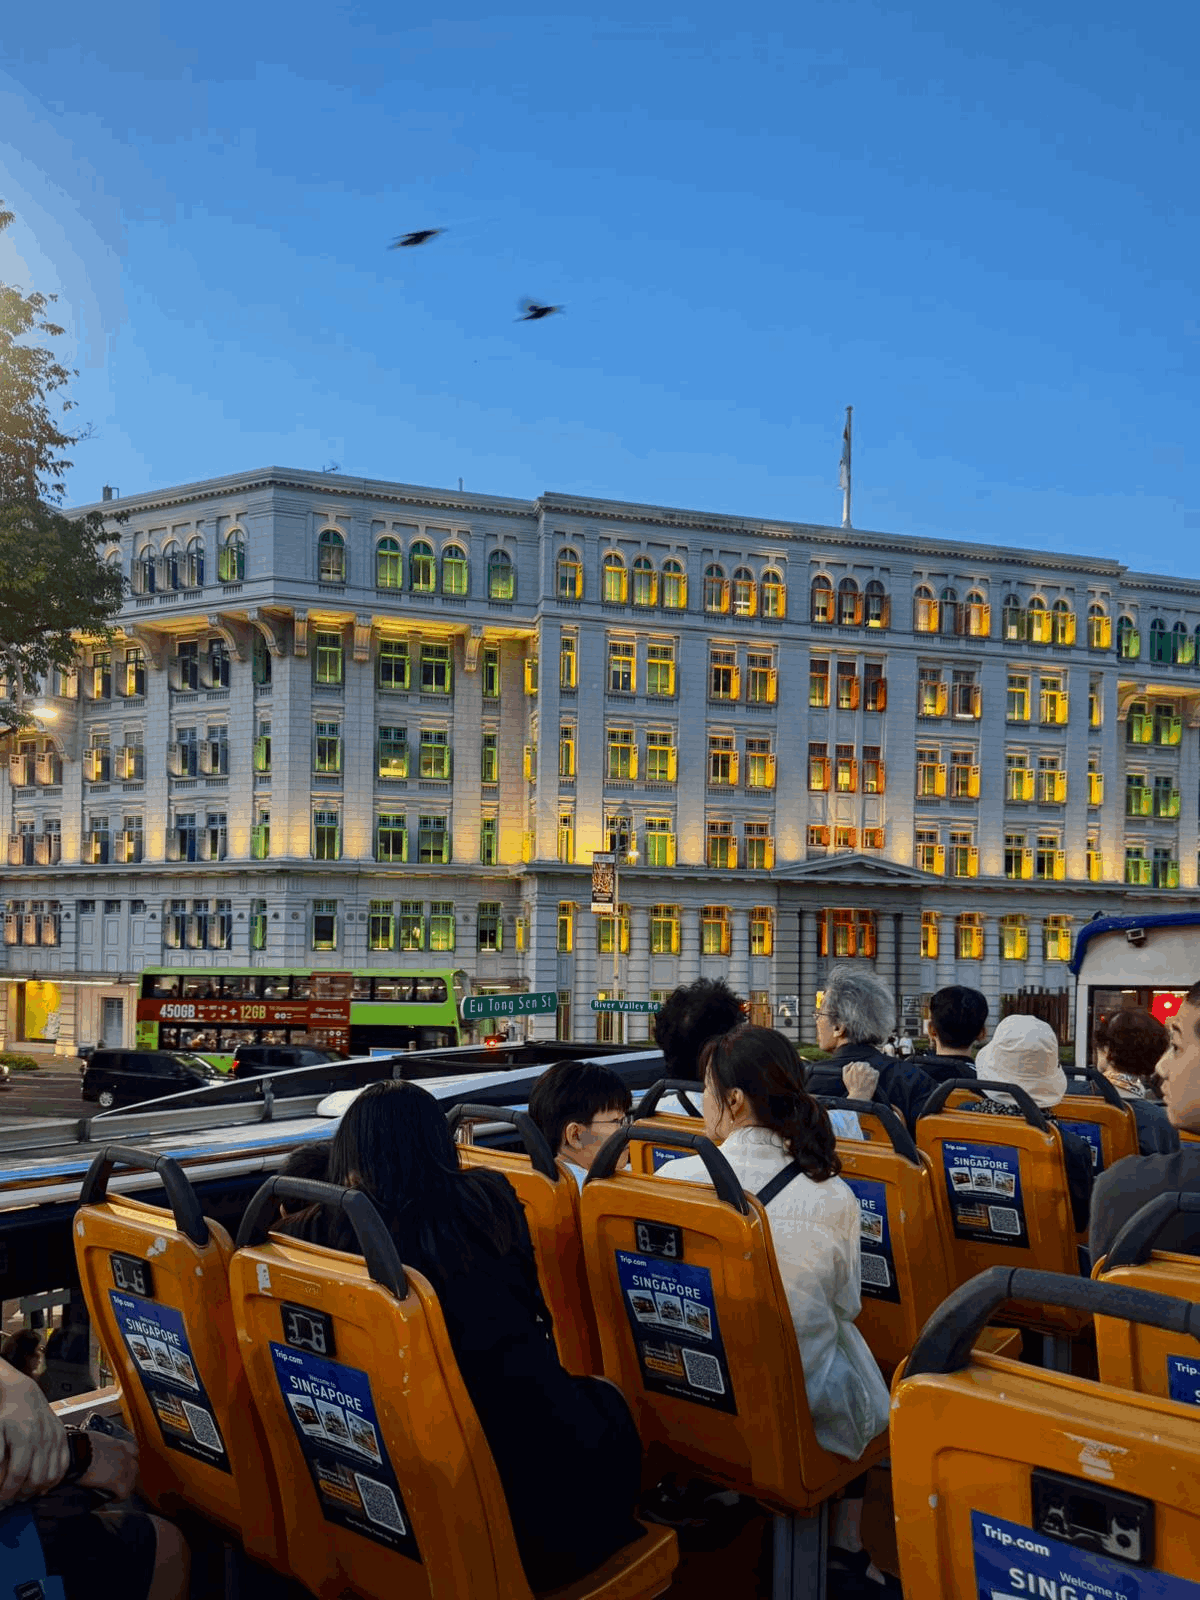
Tourists on the upper deck of the FunVee Open-Top Bus photographing the illuminated rainbow windows of Old Hill Street Police Station at night.

1. Use the “Tap and Lower” Exposure Trick

The problem:
Your camera may try to brighten the dark sky, causing illuminated landmarks such as Marina Bay Sands, the Helix Bridge or neon signs to appear overly bright or washed out.

The fix:
Tap on a bright part of the scene on your screen. On many phones, an exposure slider or small sun icon will appear. Lower the exposure slightly, usually to around –0.3 to –0.7 EV.

Why it works:
Reducing the exposure helps preserve details in bright lights, keeps the sky darker and allows illuminated colours to appear more defined.
Avoid lowering it too much, as this may make the rest of the image look overly dark.

2. Avoid Long Night Mode Exposures While Moving

The problem:
Night mode often combines several frames or uses a longer exposure to brighten dark scenes. This works best when both you and the subject are still. On a moving bus or boat, it can create motion blur, ghosting or streaky lights.

Automatic frame-rate settings may also reduce the video frame rate in low light, which can make moving footage appear less consistent.

The fix for photos:
Turn off Night mode or reduce the Night mode exposure time while the vehicle is moving. Save longer Night mode shots for stops where you can hold your phone steady.

The fix for videos:
Record at a consistent frame rate, such as 30 frames per second. On supported phones, check your camera settings and turn off Auto FPS if you do not want the phone to reduce the frame rate automatically in low light.

Menu names vary by phone model, but the setting may be found under:

Settings > Camera > Record Video

Keep your hands steady, hold the phone close to your body and avoid sudden camera movements while filming.

3. Start with the 1x Main Camera

The problem:
Digital zoom crops and enlarges the image rather than capturing additional detail. At night, this can quickly introduce grain, noise and a loss of sharpness.

The fix:
Start with the 1x main camera, which usually gives the most reliable low-light results. Avoid pinching to zoom unless your phone has a dedicated optical telephoto lens that performs well at night.

Where possible, capture a wider image and crop it later instead of using heavy digital zoom.

Why it works:
The main camera usually has a larger sensor and better low-light performance than secondary lenses. It can capture more light and produce a cleaner, sharper image when photographing the city at night.

Quick Night Photography Checklist

Before you start shooting:
● Lower the exposure slightly.
● Avoid long Night mode exposures while moving.
● Record video at a consistent frame rate.
● Use the 1x main camera.
● Avoid heavy digital zoom.
● Keep your phone steady with both hands.
● Clean your camera lens before shooting.

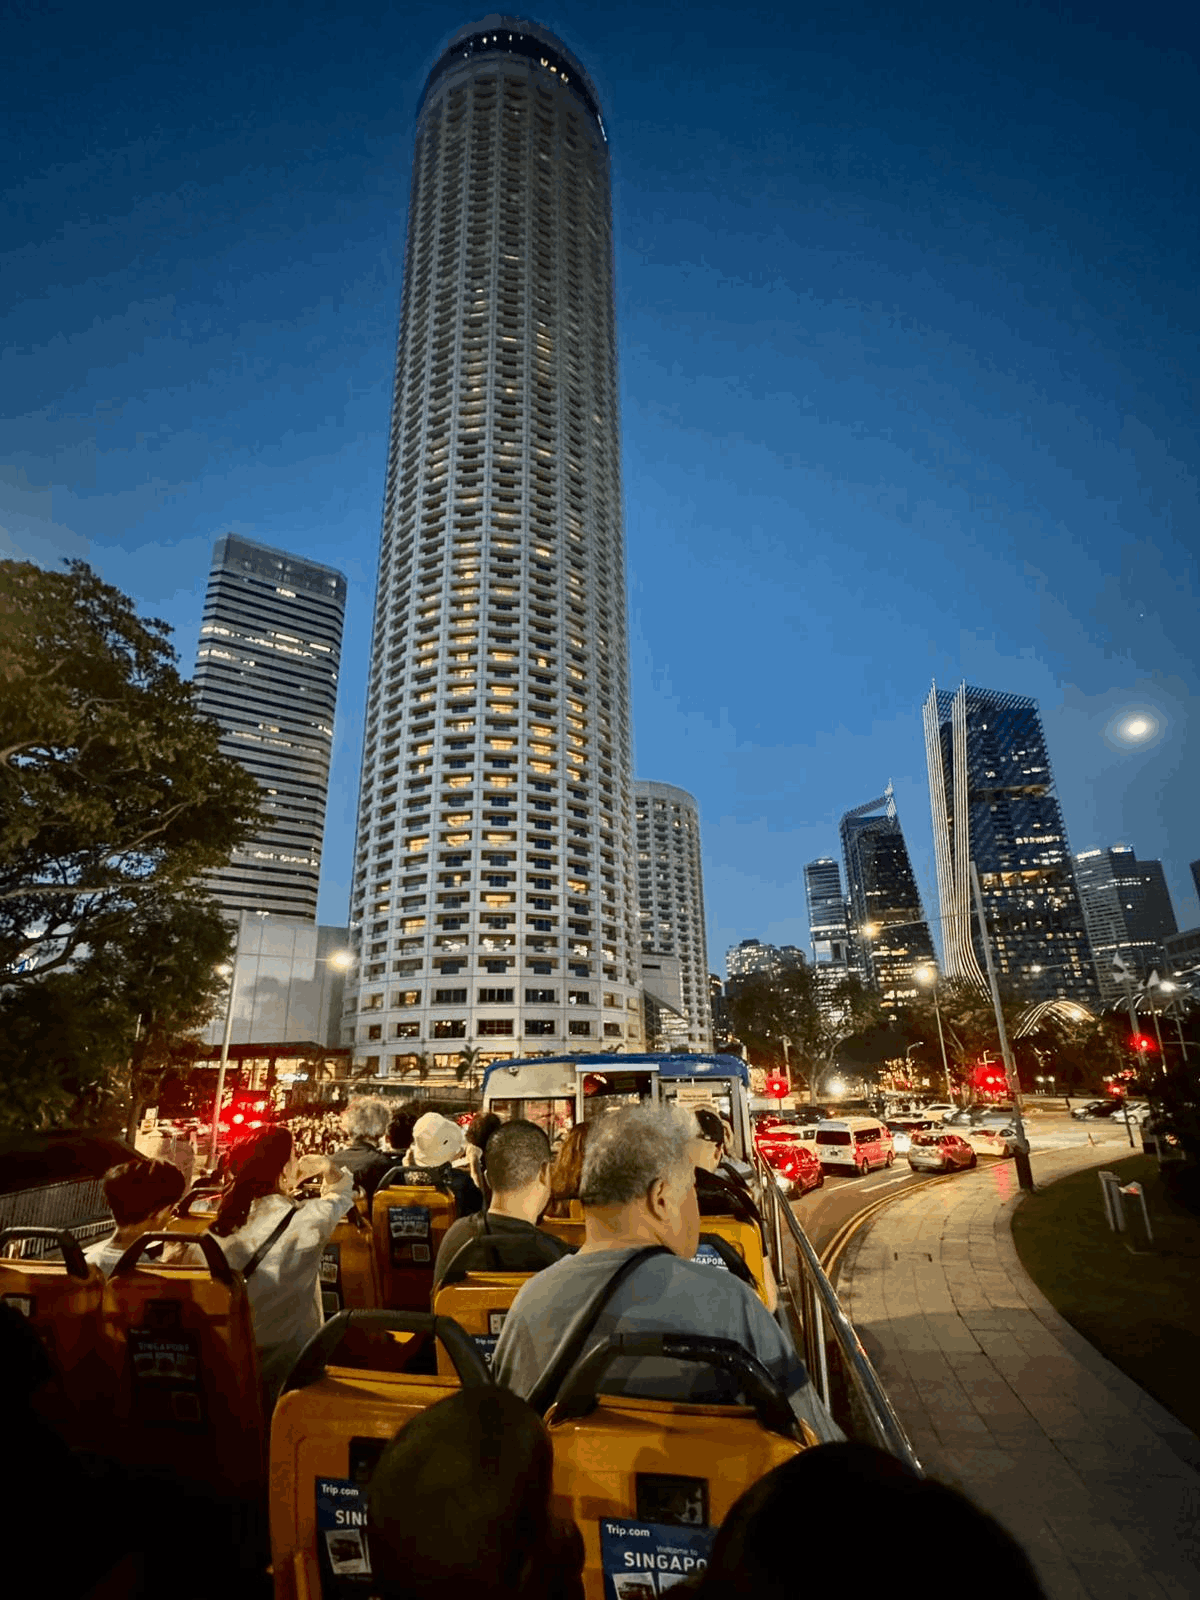
Tourists on the upper deck of the FunVee Open-Top Bus taking photos of Fairmont Singapore and Raffles City at night.

Part 2: The Ultimate Moving Studio (And Pre-Game for Night Fest!)

Now that your settings are dialed in, where is the best place to capture these cinematic shots without fighting dense street-level crowds?

Climb up to the open-top deck of the Singapore City Lights Open-Top Bus Night Tour.

📍 Start: Marina Square (6:45 PM)
▼ 🚌 Open-Top Bus: 1x Lens Framing of MBS & Merlion
▼ 🌉 Drop-Off: Clarke Quay Riverside (7:45 PM)
▼ 🎭 Have Dinner and go to Singapore Night Festival (8.00 PM–12 AM)
💡 Pro Content Tip: Sit in the Back Row!

Sitting in the rear row of the upper deck gives your shots incredible depth. You can frame the entire bus stretched out in front of you, capturing passengers against the towering, lit-up skyline rolling past.

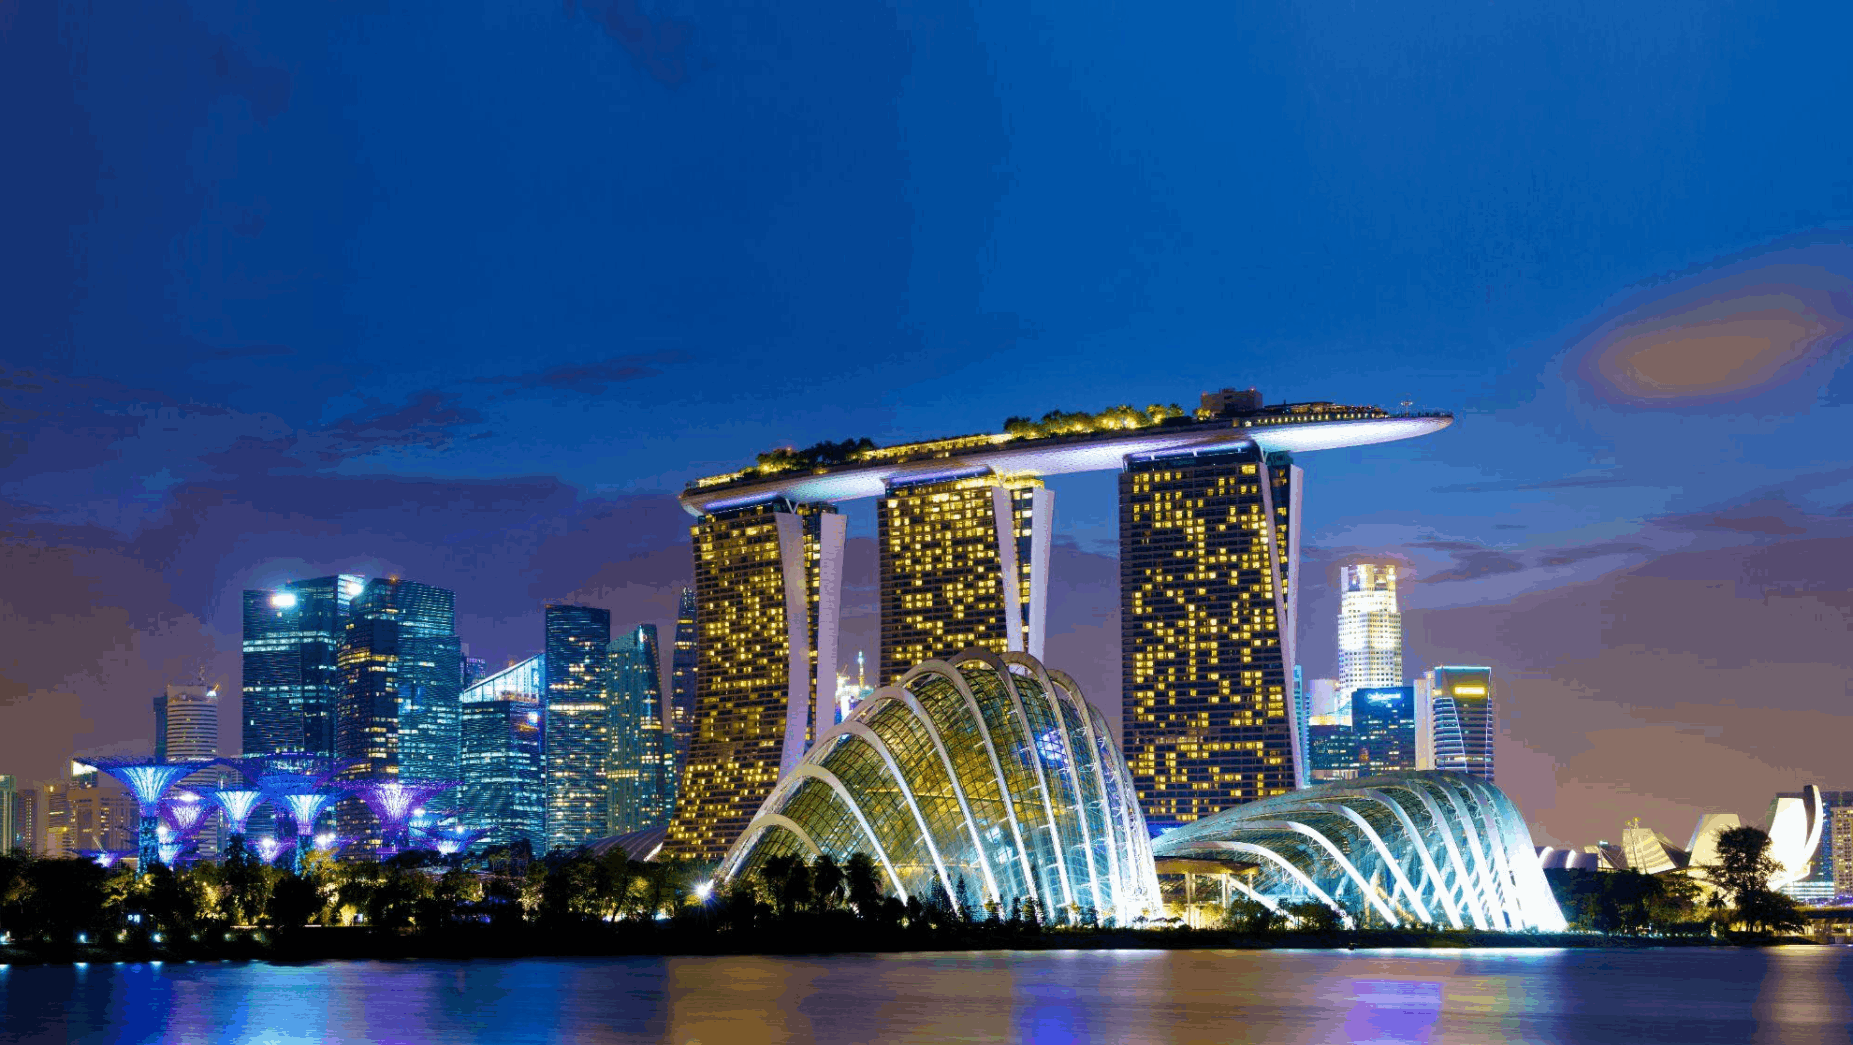
Marina Bay Sands and Gardens by the Bay illuminated at night, showing Singapore’s skyline and waterfront views after dark.Marina Bay Sands and Gardens by the Bay illuminated at night, showing Singapore’s skyline and waterfront views after dark.

What you’ll frame from your seat:

● Marina Bay and Civic District: Clear high-angle shots of the illuminated Helix Bridge, Esplanade, and National Gallery.
● Heritage & Culture: The vibrant red-and-gold glow of Chinatown’s shophouses and the smoky Satay Street at Lau Pa Sat.
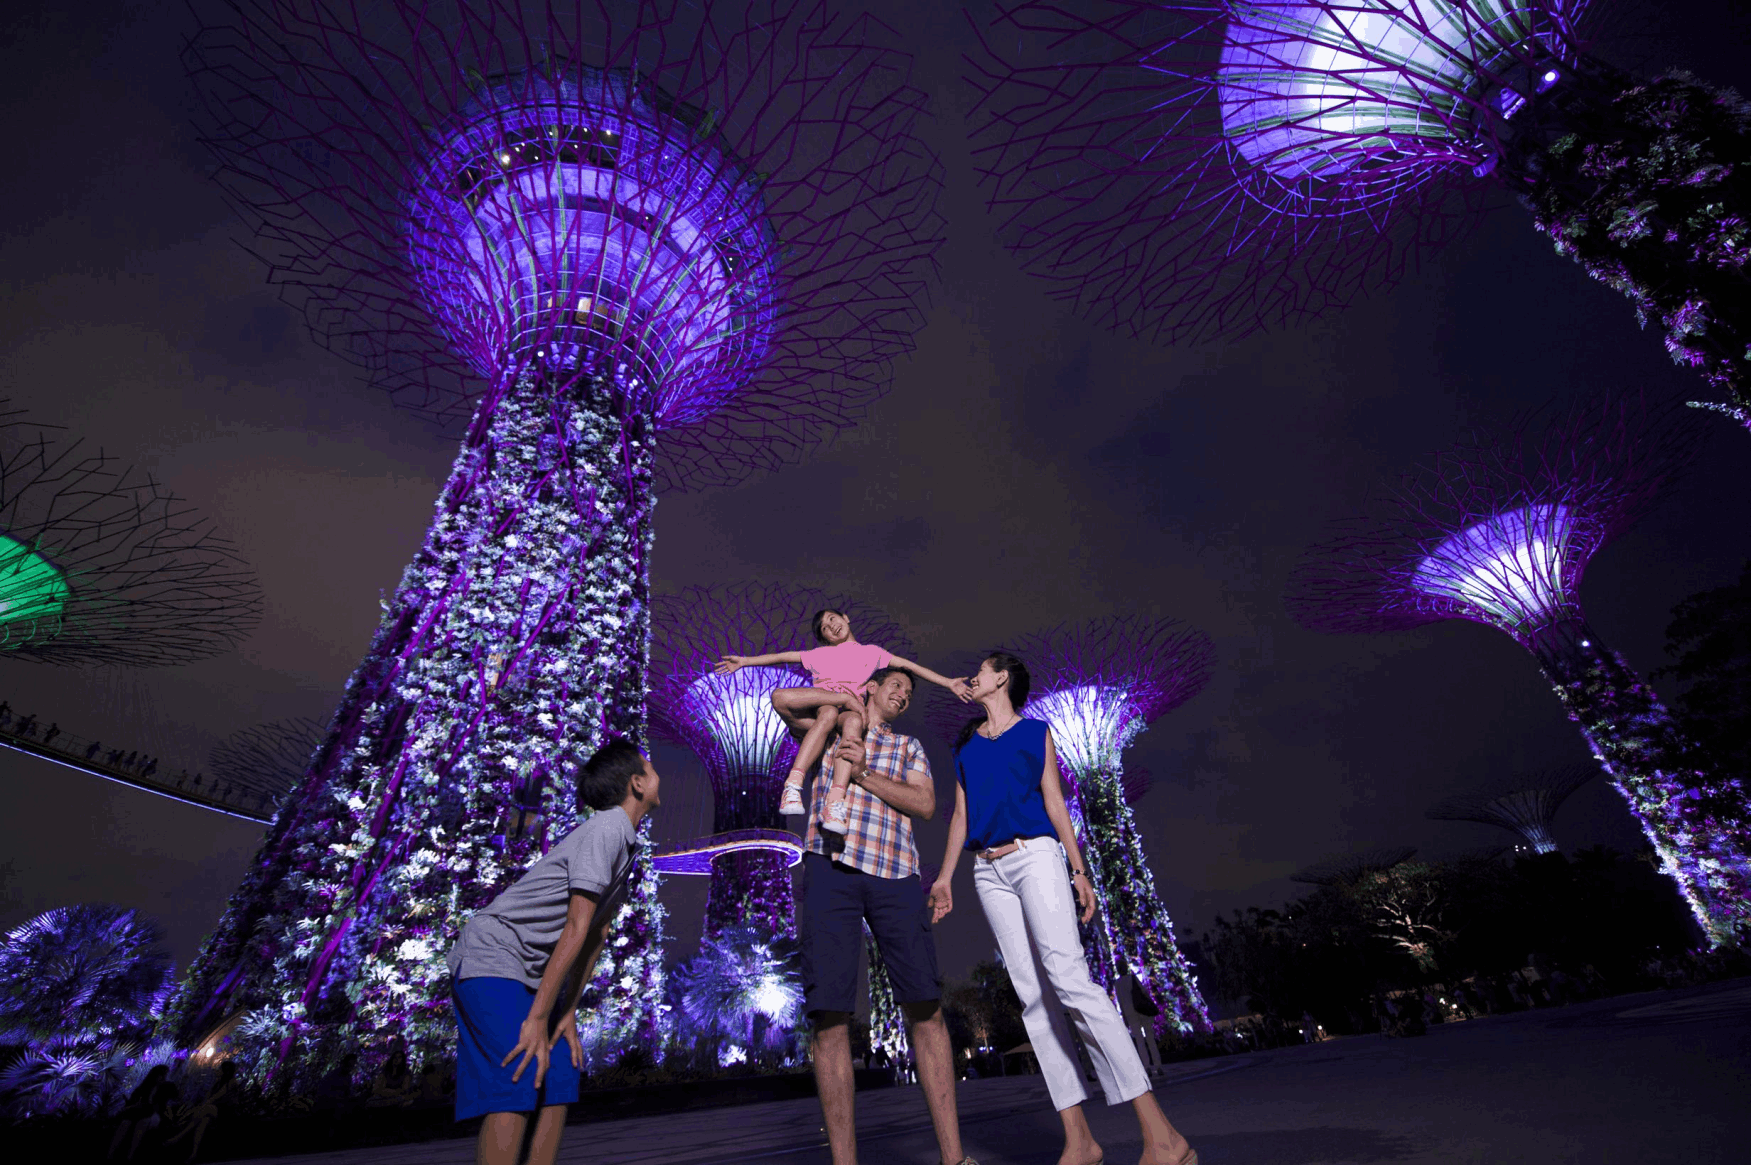
● Marina Bay & Gardens: Capture views of the illuminated Supertrees as the bus drives past Gardens by the Bay.

Part 3: Build the Perfect Night Out

During late August and September, the Singapore Night Festival lights up the Bras Basah. Bugis district starting from 7:30 PM until midnight. Here is how to make the bus tour your ultimate pre-game itinerary:

● 6:45 PM – The Open-Air Skyline Ride: Board the FunVee Open-Top Bus at Marina Square to catch the breeze and shoot sunset-to-twilight content.
● 7:45 PM – Riverside Drop-Off: The tour concludes directly at Clarke Quay. Grab a riverside dinner or choose the 1.5-Hour Bus + River Cruise package when booking if you would also like to capture Marina Bay from the water.
● 8:30 PM Onwards – Festival Hopping: Walk or hop a quick train over to the National Museum and Bugis to explore the festival’s building projection mappings and light sculptures.

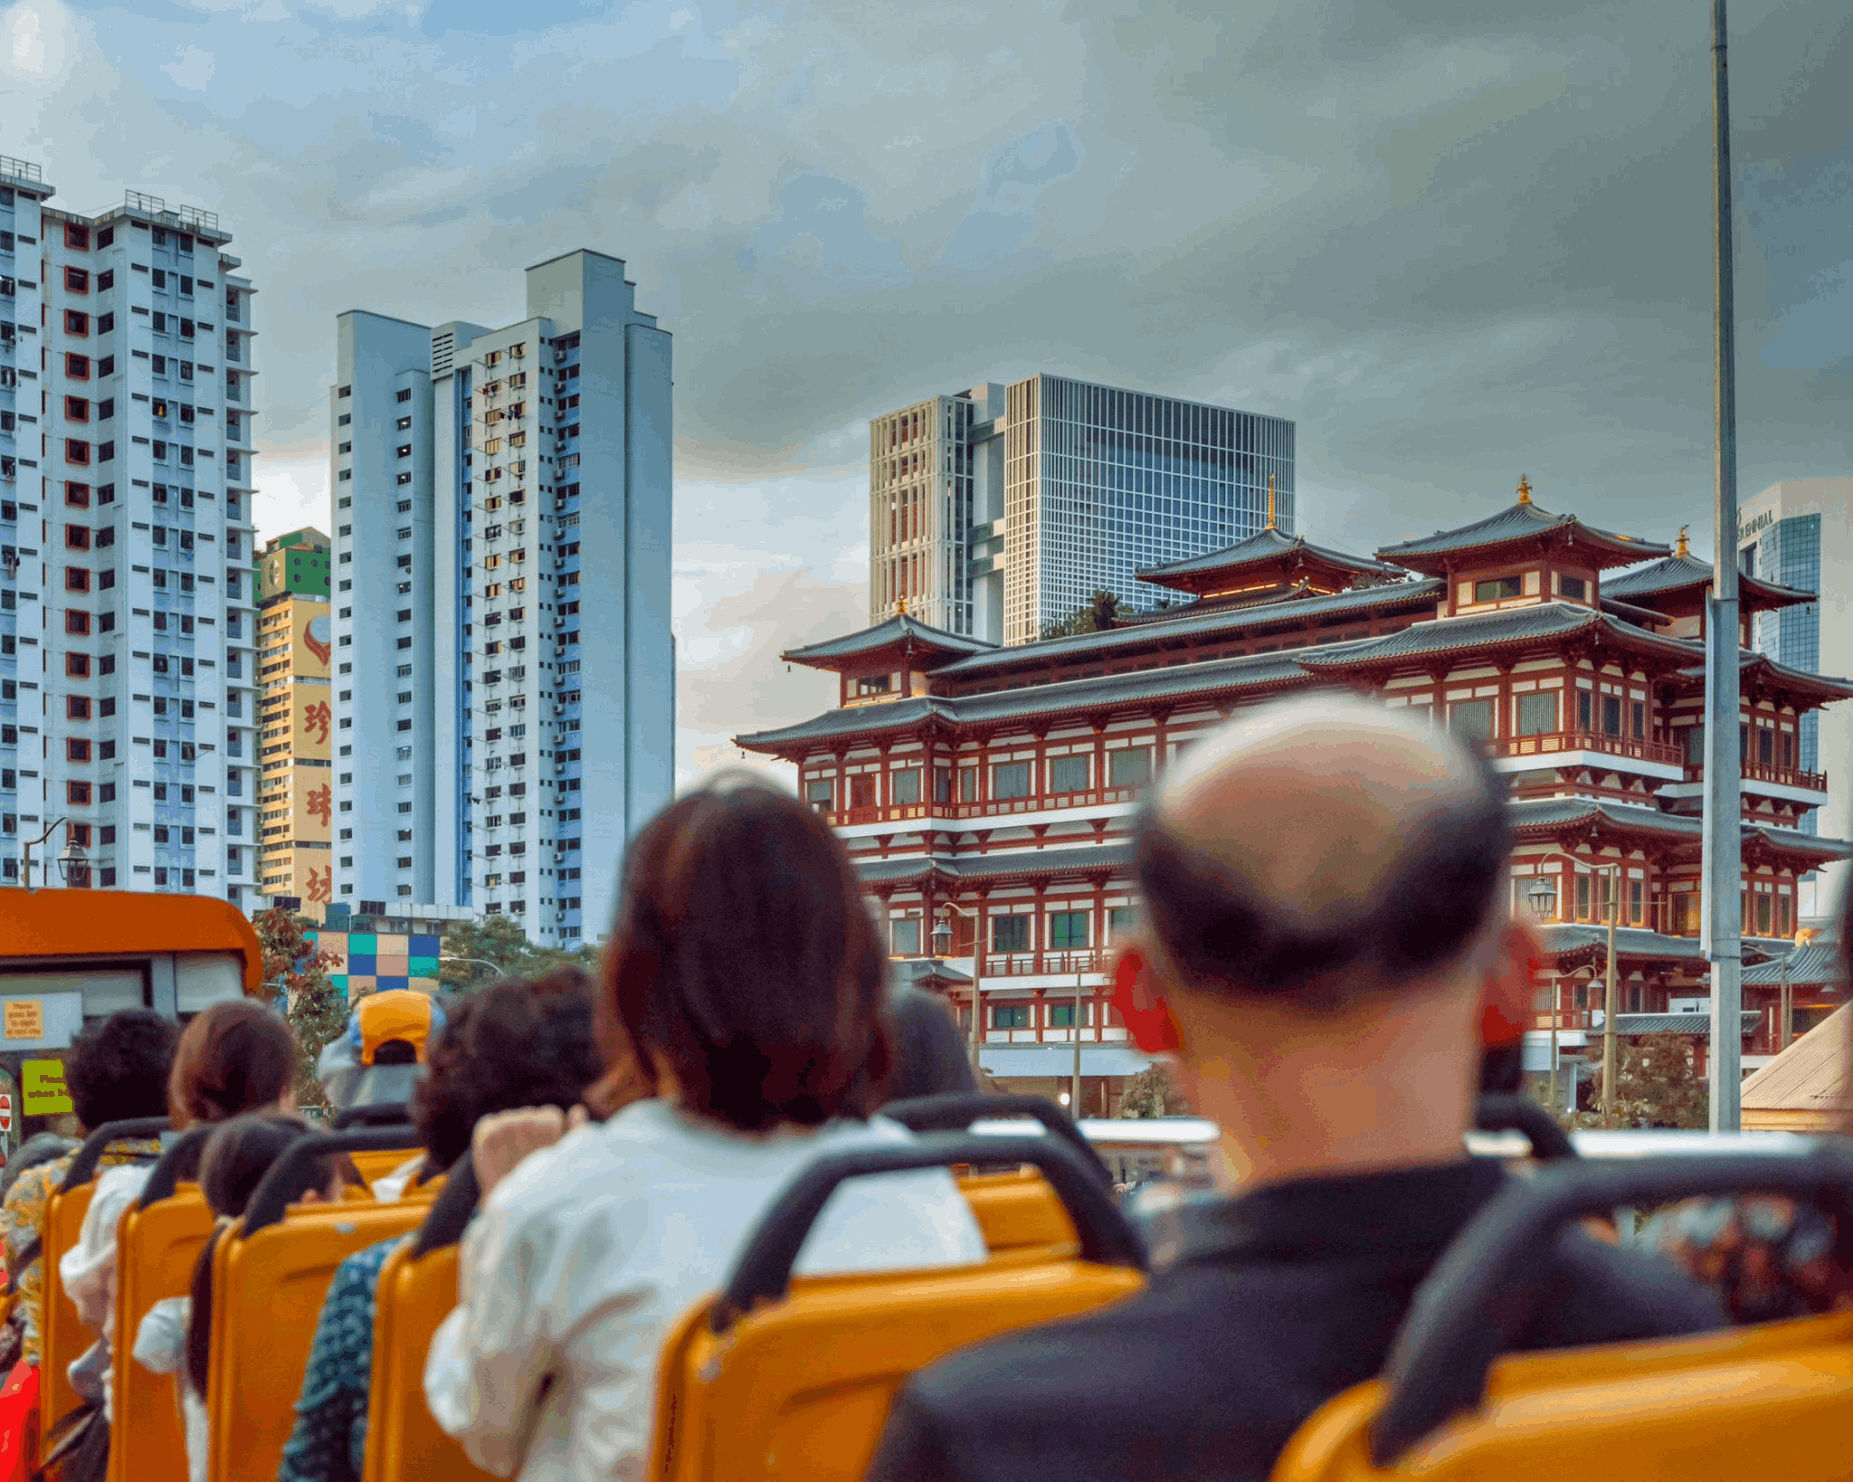
Tourists on the upper deck of the FunVee Open-Top Bus photographing the Buddha Tooth Relic Temple in Chinatown

Tour Details & Exclusive Online Savings

Skip the walk-in rates and book online in advance to guarantee your slot during the festival season:

Tour Package

Special Online Rate (SGD)

Walk-in Rate (SGD)

S$26.00 / Adult

S$33.00 / Adult

S$46.00 / Adult

S$61.00 / Adult 

● Operating Schedule: Everyday (Except Mondays)
● Departure Time: 6:45 PM
● Meeting Point: #01-207, City Tourist Hub @ Marina Square Shopping Mall (next to 7-Eleven)   

Related Reads for Your Singapore Adventure

3 days Singapore itinerary with city pass
Explore Singapore in 3 Days with One Easy Pass: The Ultimate 3D2N Itinerary for Tourists
Gardens by the Bay with tourists using Singapore City Pass
4 Days in Singapore: The Ultimate Family Itinerary!
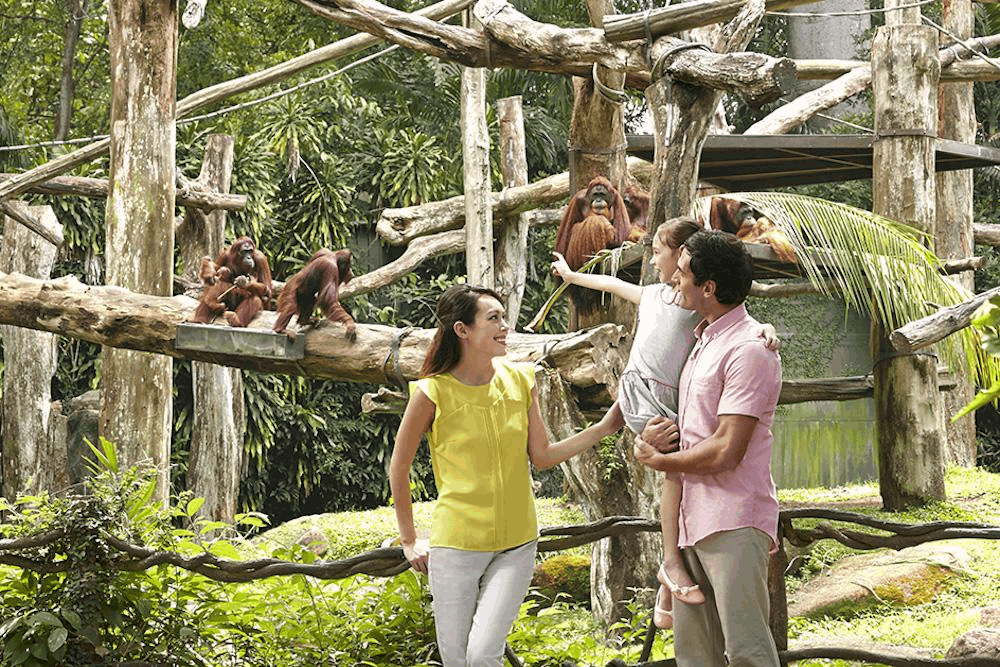
Zoo with Indian tourists using Singapore City Pass
Unforgettable Singapore: A 5-Day Travel Plan for Indian Tourists

©2008 City Tours & Car Rentals Pte Ltd Singapore Tourism Board Travel Agent License 01451

Group Admission Fees for 2022

Group Rates Per Person

House and Gardens

Gardens Only

Children (5-16 years)

£6.00

£3.00

Primary School Parties

£4.50

£4.00

Secondary School Parties

£8.70

£5.90

Mobility Scooter Hire

-

£4.60

Adults/Senior Citizens/Students

£14.25

£6.5